
Konfiguracja klienta VPN – Windows Vista


Przykłady konfiguracji połaczenia VPN dla systemu Windows Vista
Sugerujemy użycie protokołu L2TP/IPsec dla najlepszej wydajności
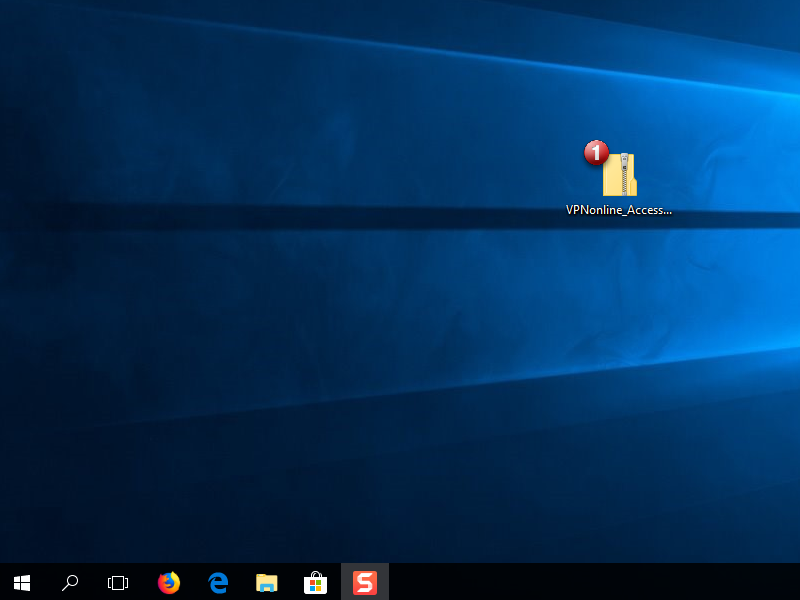
Pobierz aplikację z naszej strony VPNonline Access i rozpakuj (1)
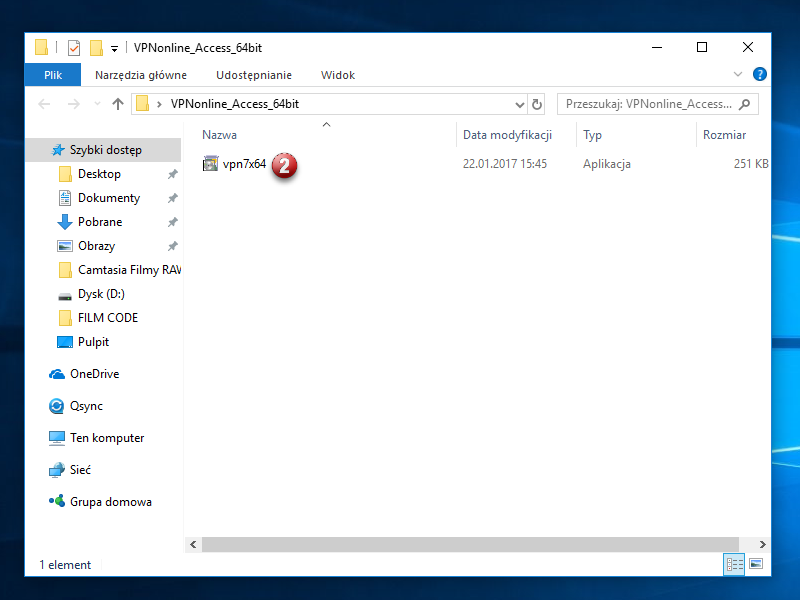
Po pobraniu aplikacji, klikamy na nią i instalujemy (2)
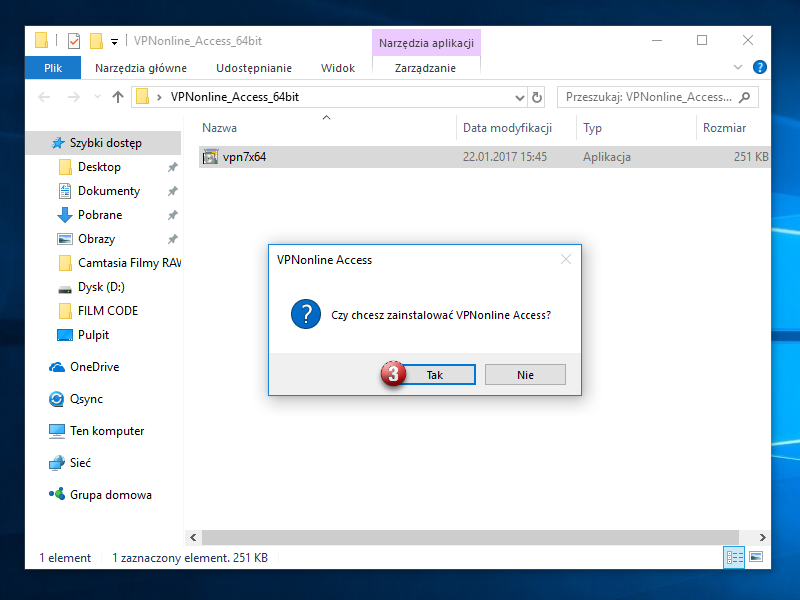
Potwierdź instalację aplikacji klikając "TAK" (3)
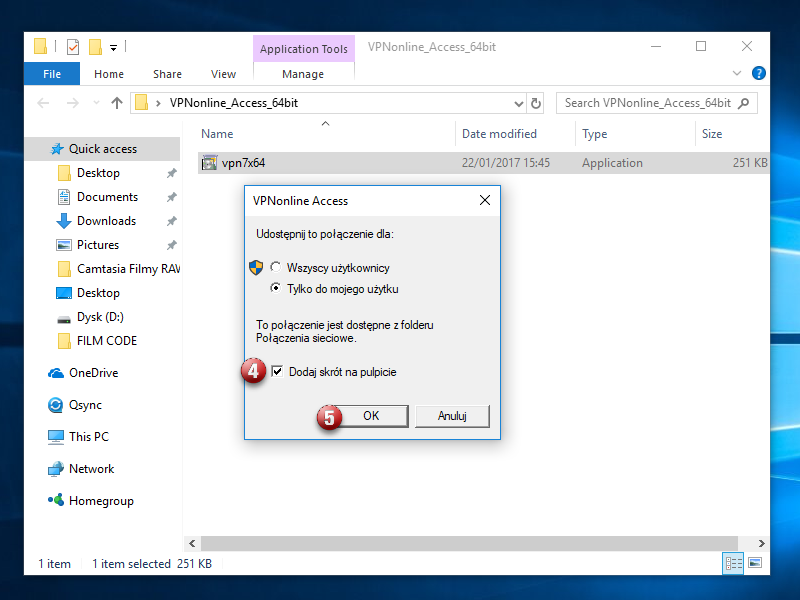
Zaznacz "Dodaj skrót na pulpicie" (4) i kliknij "OK" (5)
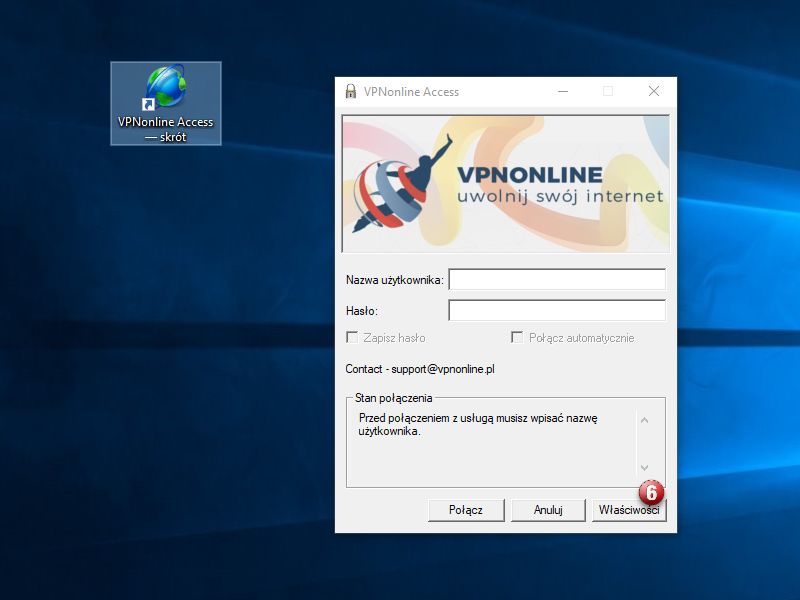
Po instalacji, aplikacji automatycznie zostanie otwarta. Na pulpicie pokazał się nowy skrót do aplikacji.
W aplikacji, kliknij przycisk "Właściwości" (6)
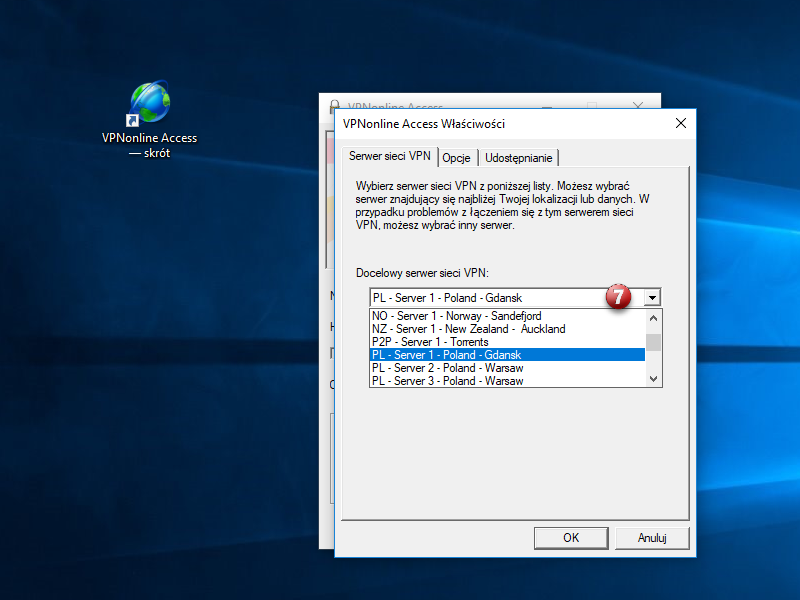
Z rozwijanej listy, wybierz serwer VPN do którego chcesz się połaczyć (7) i kliknij OK
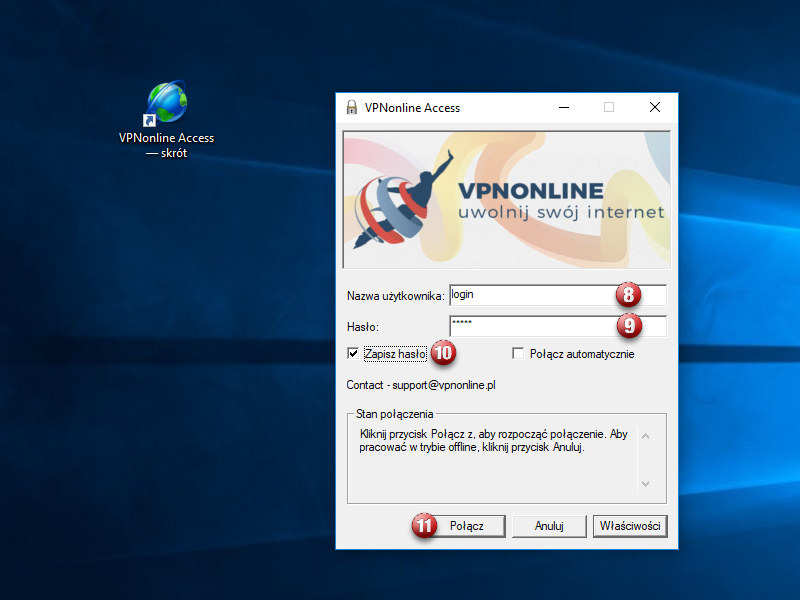
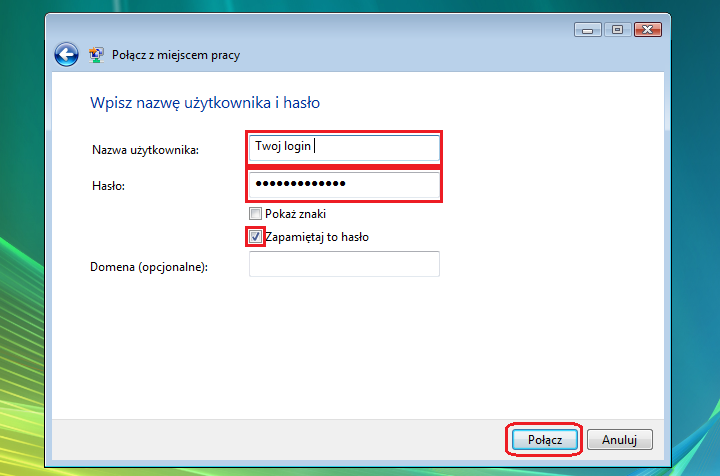
Wpisz swój login (8) i hasło (9) oraz zaznacz pole "Zapamiętaj hasło" (10).
Następnie kliknij "Połącz" (11)
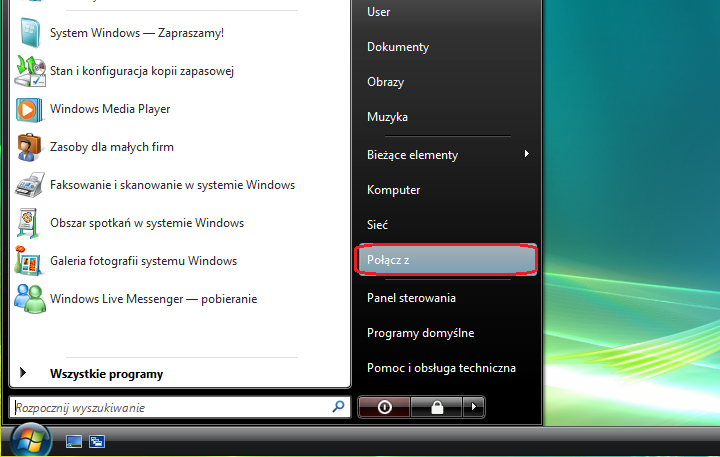
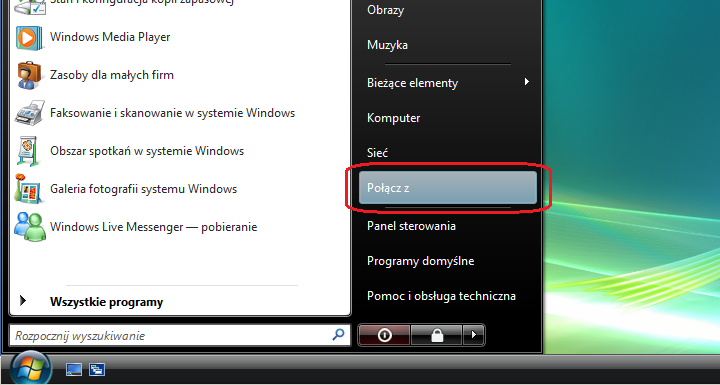
W pierwszym kroku kliknij przycisk START i następnie Połącz z

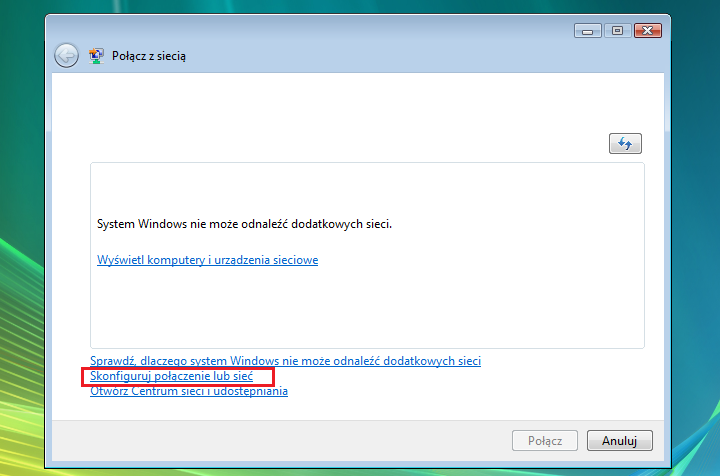
Kiedy okno się otworzy, wybierz "Skonfiguruj połączenie lub sieć"

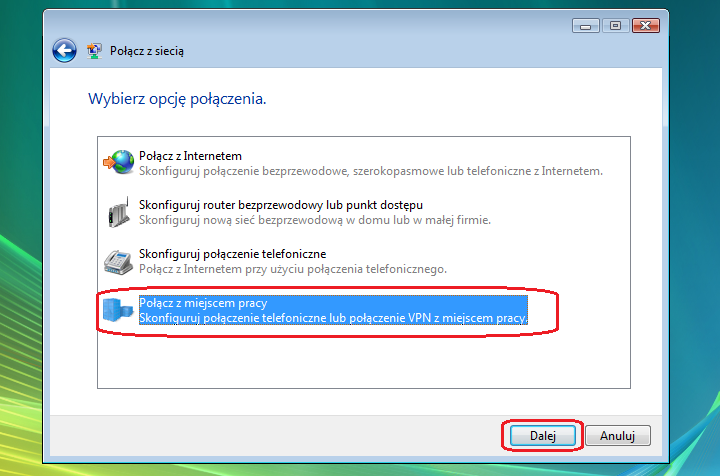
Wybierz "Połącz z miejscem pracy" i kliknij "Dalej"

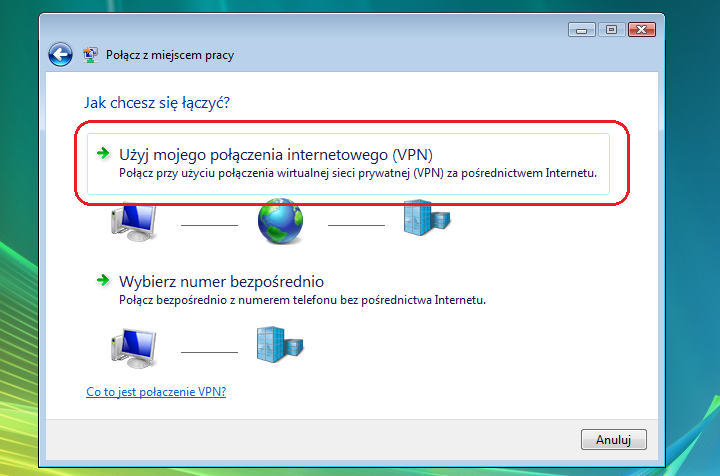
Wybierz "Użyj mojego połączenia internetowego (VPN) "
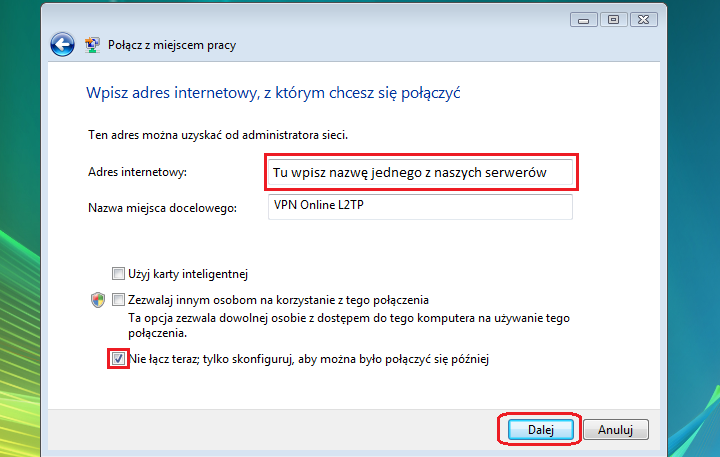
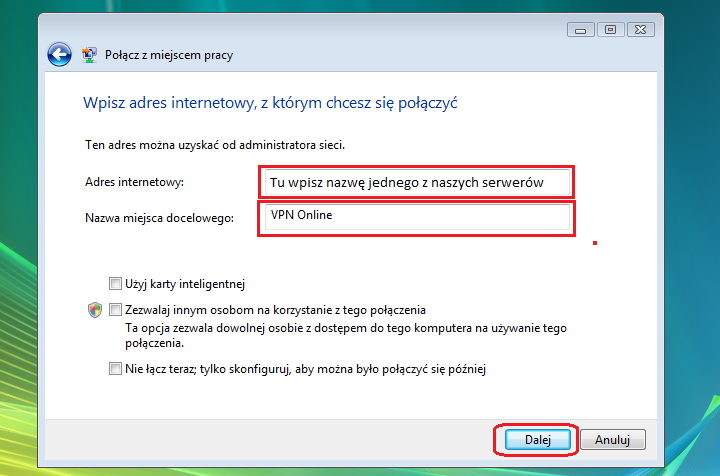
W polu "Adres internetowy" - wpisz nazwę jednego z serwerów VPNonline
W polu "Nazwa miejsca docelowego" - wpisz nazwę połączenia np. VPN Online L2TP
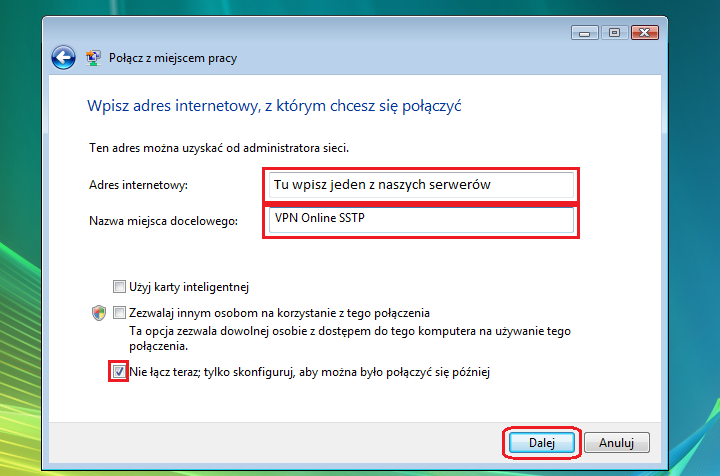
Zaznacz opcję "Nie łącz teraz; tylko skonfiguruj, aby można było połączyć się później"
Listę dostępnych serwerów VPN znajdziesz w panelu klienta: https://portal.vpnonline.pl
Po wprowadzaniu wymaganych danych kliknij "Dalej"
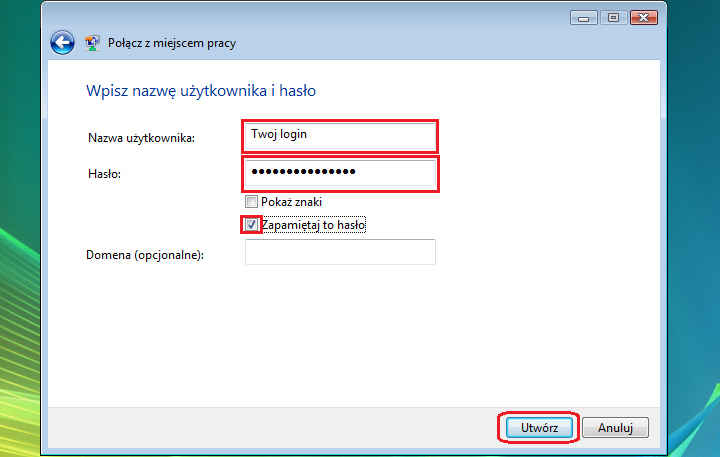
W polu "Nazwa użytkownika" - wpisz swój login
W polu "Hasło" - wpisz swoje hasło
Zaznacz opcję "Zapamiętaj hasło"
Aby zakończyć, kliknij "Utwórz"
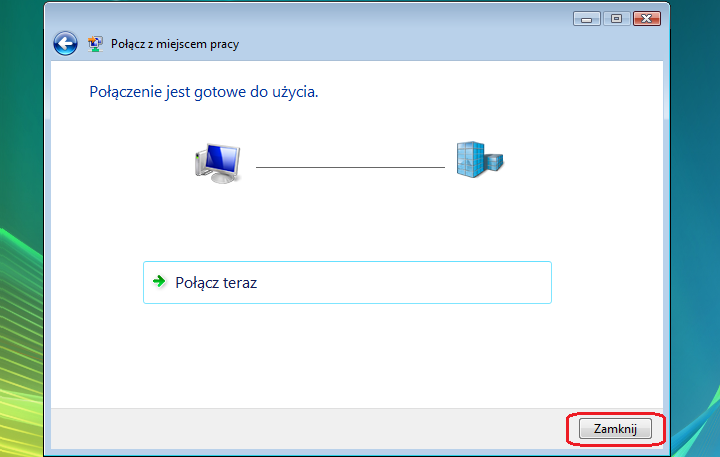
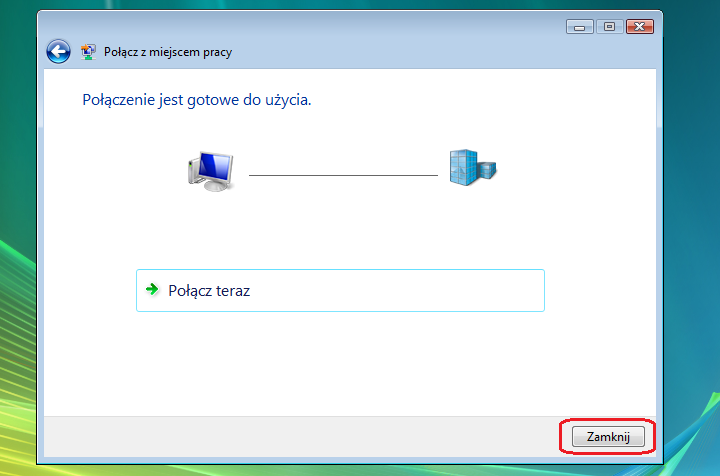
Kliknij "Zamknij"
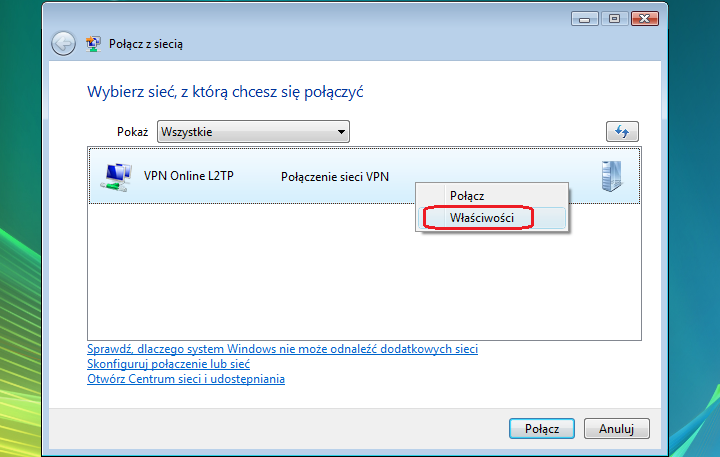
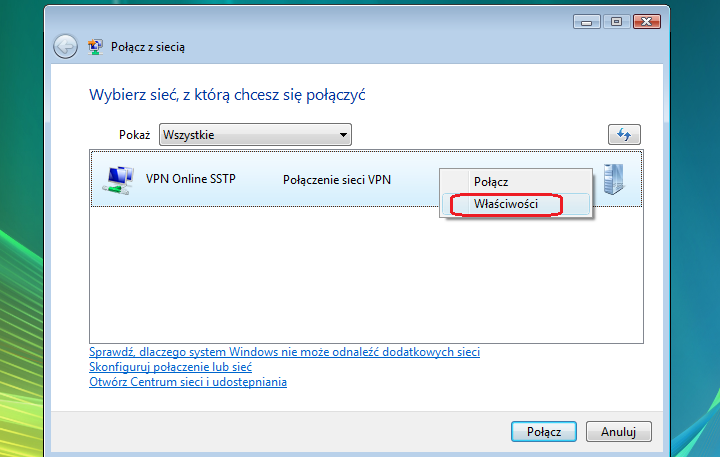
Aby dokończyć konfigurację należy ponownie przejść do okna "Połącz z siecią"
Zaznacz połączenie "VPN Online L2TP", kliknij prawym przyciskiem myszy i wybierz "Właściwości"
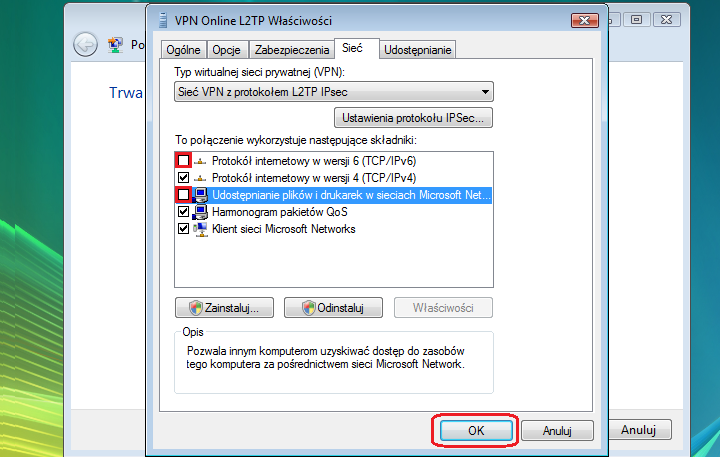
Po otwarciu okna "VPN Online L2TP Właściwości" przejdź do zakładki "Sieci"
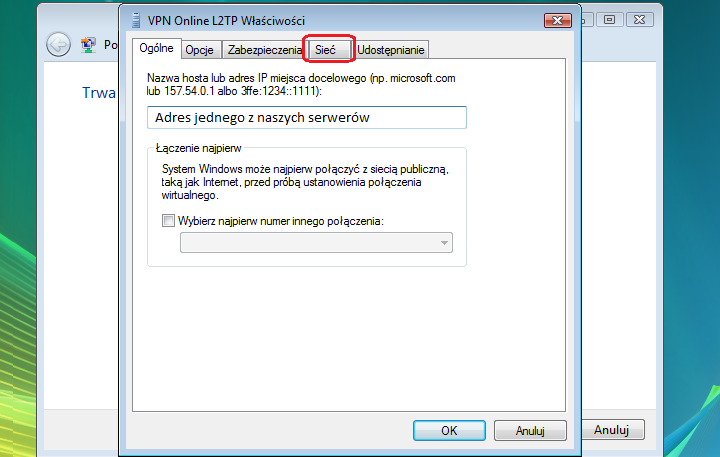
Wybierz i rozwiń zakładkę "Typ wirtualnej sieci prywatnej (VPN)"

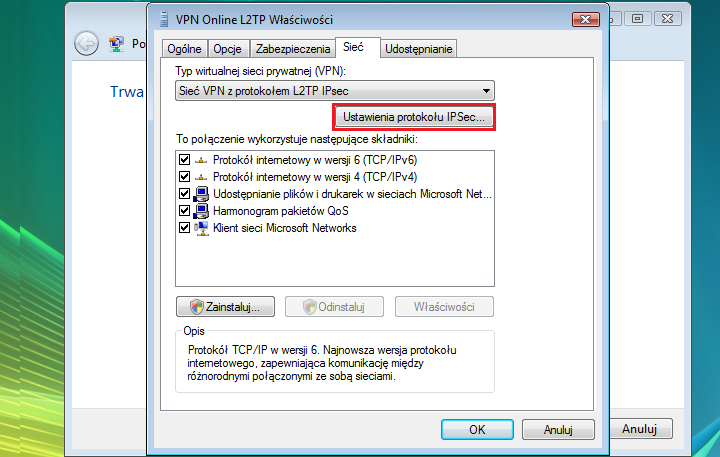
Wybierz "Sieć VPN z protokołem L2TP IPsec"

Następnie, kliknij "Ustawienia protokołu IPSec.."
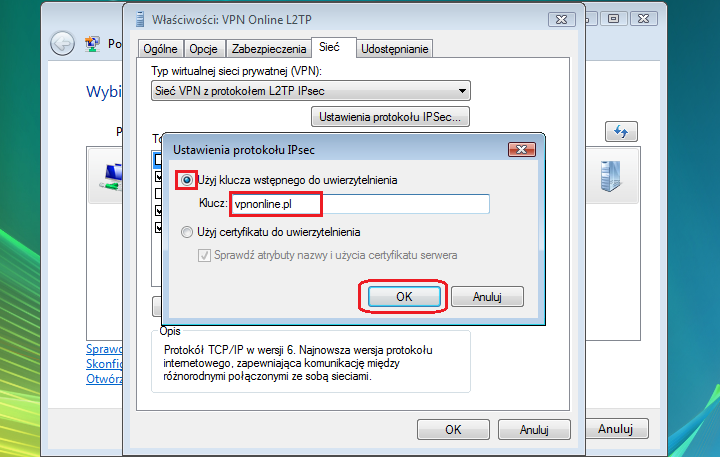
Zaznacz "Użyj klucza wstępnego do uwierzytelnienia"
W polu "Klucz" wpisz: vpnonline.pl
W zakładce "Sieć" odznacz:
- Protokół internetowy w wersji 6 (TCP/IPv6)
- Udostępnianie plików i drukarek w sieci Microsoft
Kliknij "OK"
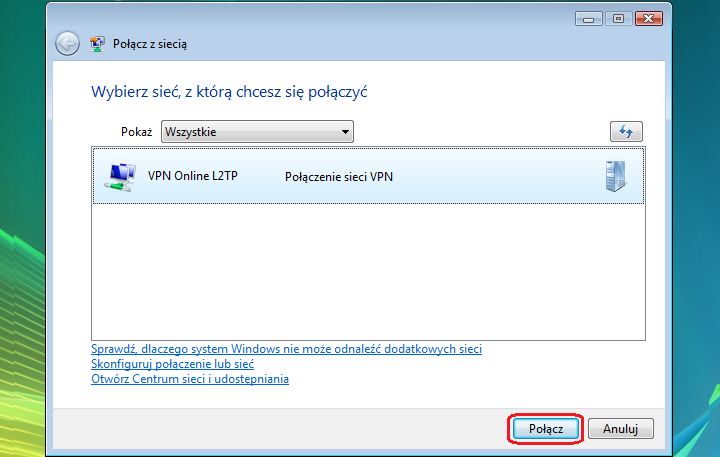
Wybierz połączenie "VPN Online L2TP" i kliknij "Połącz"
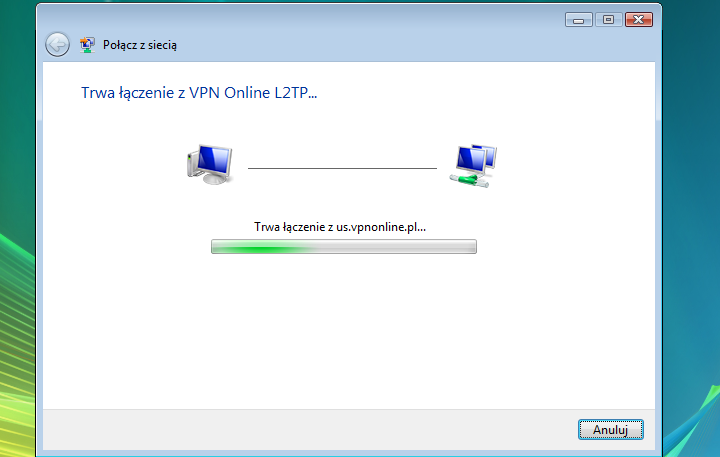
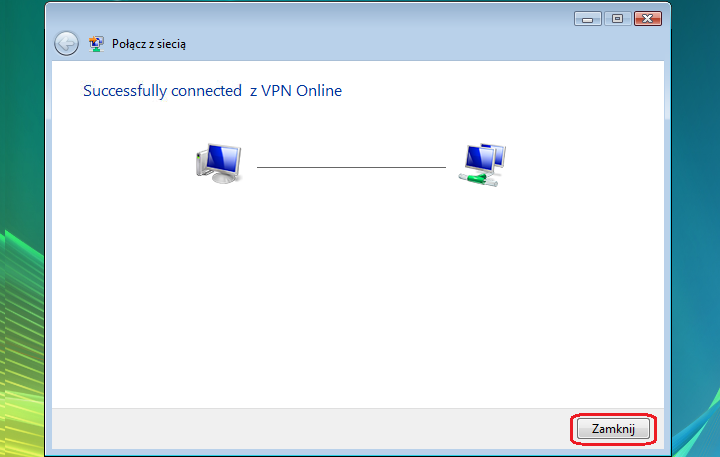
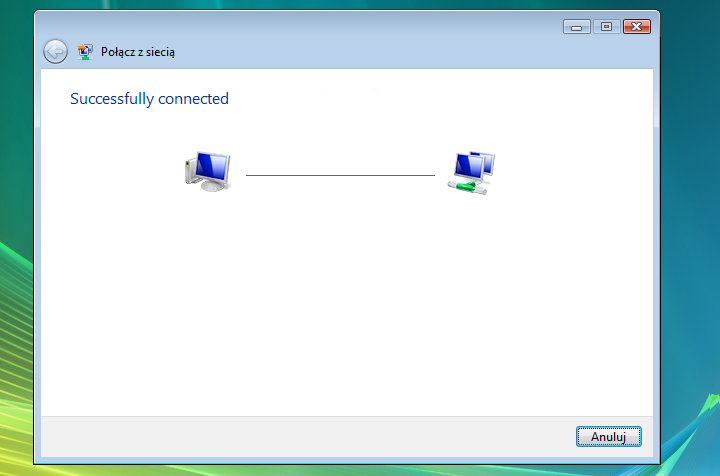
Po poprawnym uwierzytelnieniu zostaniesz połączony z naszym serwerem
W pierwszym kroku kliknij przycisk START i następnie Połącz z

Kiedy okno się otworzy, wybierz "Skonfiguruj połączenie lub sieć"
Wybierz "Połącz z miejscem pracy" i kliknij "Dalej"
Wybierz "Użyj mojego połączenia internetowego (VPN) "

W polu "Adres internetowy" - wpisz nazwę jednego z serwerów VPNonline
W polu "Nazwa miejsca docelowego" - wpisz nazwę połączenia np. VPNonline PPTP
Listę dostępnych serwerów VPN znajdziesz w panelu klienta: https://portal.vpnonline.pl
Po wprowadzaniu wymaganych danych kliknij "Dalej"
W polu "Nazwa użytkownika" - wpisz swój login
W polu "Hasło" - wpisz swoje hasło
Zaznacz opcję "Zapamiętaj hasło"
Aby zestawić połączenie VPN kliknij "Połącz"

W pierwszym kroku kliknij przycisk "START" i następnie "Połącz z"

Kiedy okno się otworzy, wybierz "Skonfiguruj połączenie lub sieć"

Wybierz "Połącz z miejscem pracy" i kliknij "Dalej"

Wybierz "Użyj mojego połączenia internetowego (VPN) "

W polu "Adres internetowy" - wpisz nazwę jednego z serwerów VPNonline
W polu "Nazwa miejsca docelowego" - wpisz nazwę połączenia np. VPNonline PPTP
Listę dostępnych serwerów VPN znajdziesz w panelu klienta: https://portal.vpnonline.pl
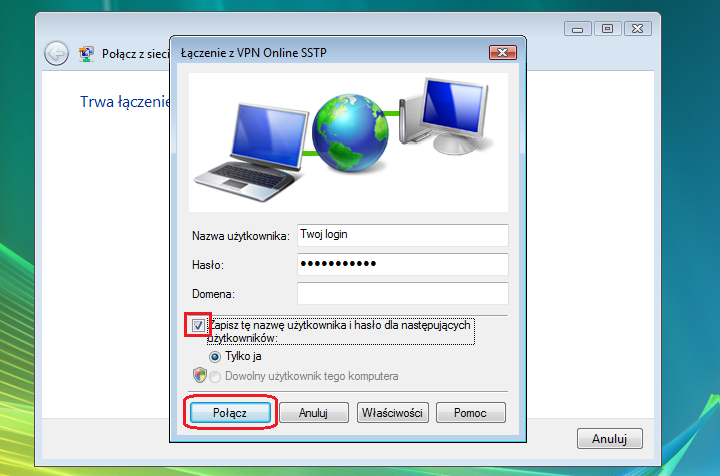
W polu "Nazwa użytkownika" - wpisz swój login
W polu "Hasło" - wpisz swoje hasło
Zaznacz opcję "Zapamiętaj hasło"
Kliknij "Zamknij"
Aby dokończyć konfigurację należy ponownie przejść do okna "Połącz z siecią"
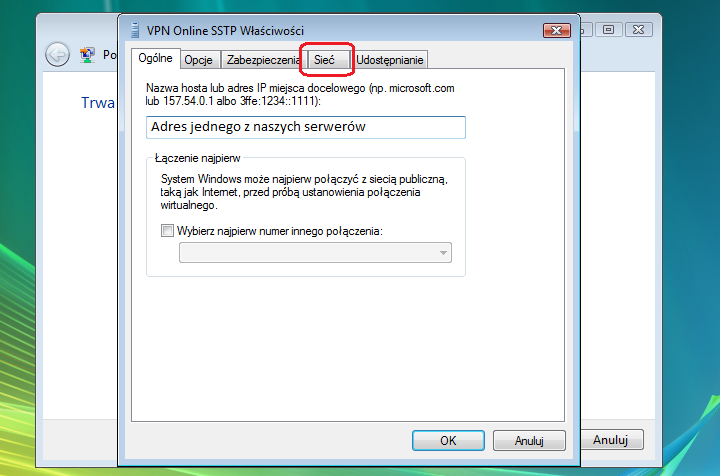
Zaznacz połączenie "VPN Online SSTP", kliknij prawym przyciskiem myszy i wybierz "Właściwości"
Gdy otworzy się okno "VPN Online SSTP Właściwości" przejdz do zakładki "Sieci"
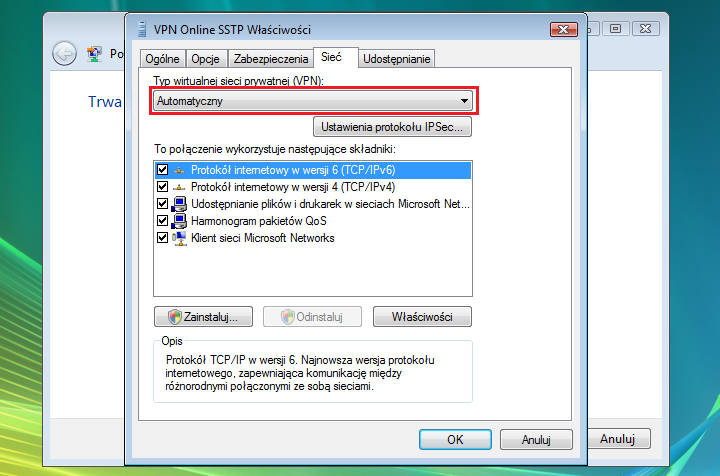
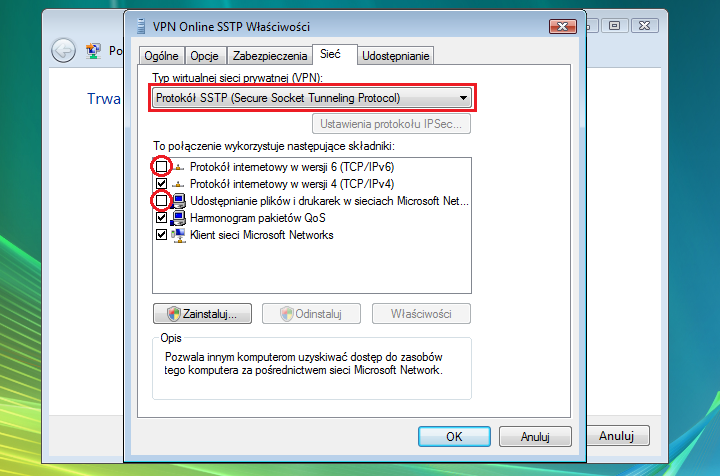
Wybierz i rozwiń zakładkę "Typ wirtualnej sieci prywatnej (VPN)"
W zakładce "Sieć" odznacz:
- Protokół internetowy w wersji 6 (TCP/IPv6)
- Udostępnianie plików i drukarek w sieci Microsoft
Po kliknięciu "OK", wybierz "VPN Online SSTP" i kliknij "Połącz"
Po poprawnym uwierzytelnieniu zostaniesz połączony z naszym serwerem
Pobierz aplikację OpenVPN Client
Aplikacja rozprowadzana jest jako Open Source GNU wiec możemy ją instalować i używać bez żadnych ograniczeń.
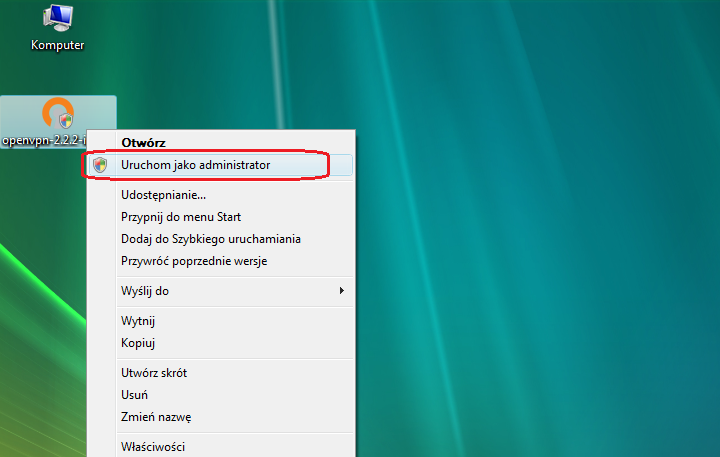
Po pobraniu i zapisaniu aplikacji uruchamiamy ją jako administrator:
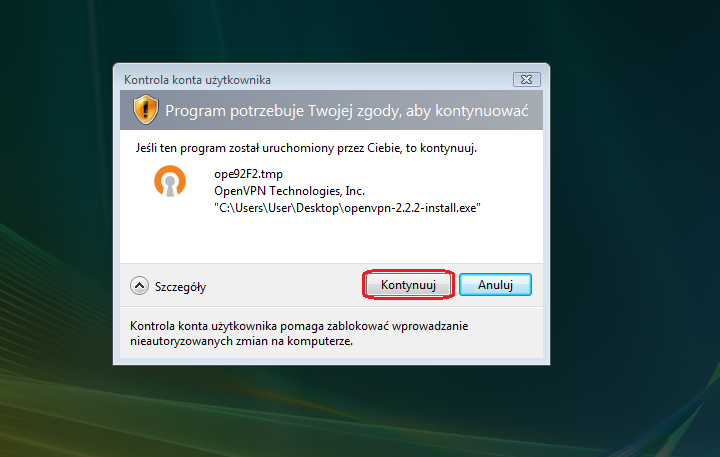
Jeżeli zobaczymy komunikat "Kontrola konta użytkownika" klikamy "Kontynuuj"
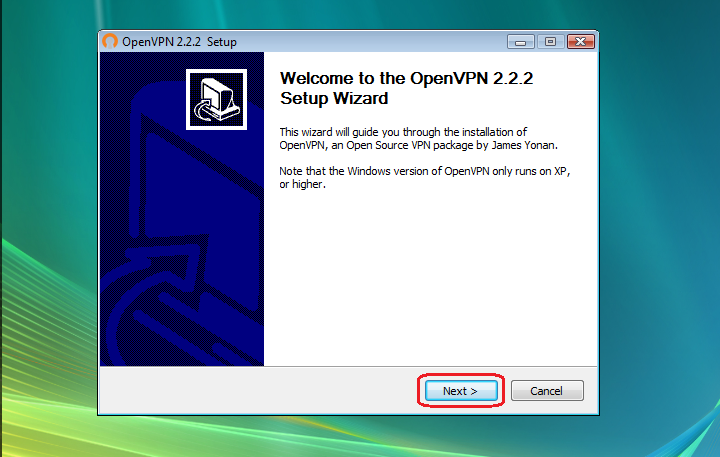
Ekran powitalny programu , klikamy "Next"
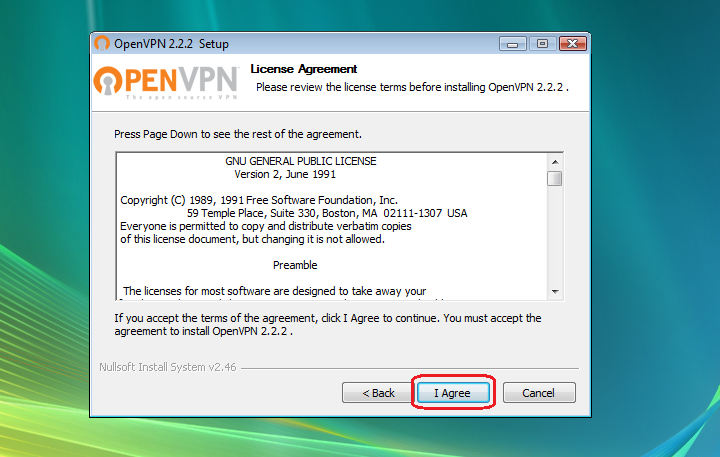
Akceptacja warunków licencji, klikamy "Next"
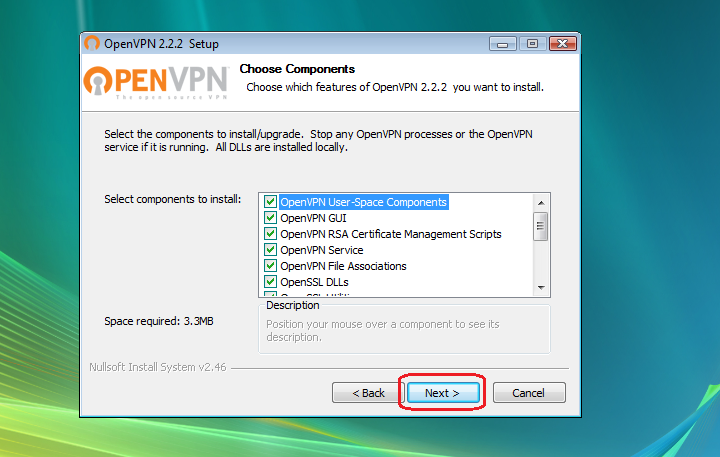
Wybór komponentów, domyślnie zostawiamy już zaznaczone i klikamy "Next"
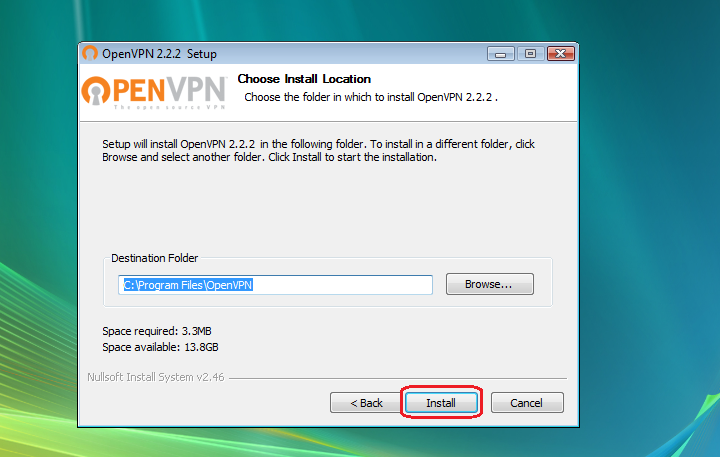
Potwierdzenie ścieżki gdzie program zostanie zainstalowany. Domyślna ścieżka instalacji to C:Program FilesOpenVPN
klikamy "Install"
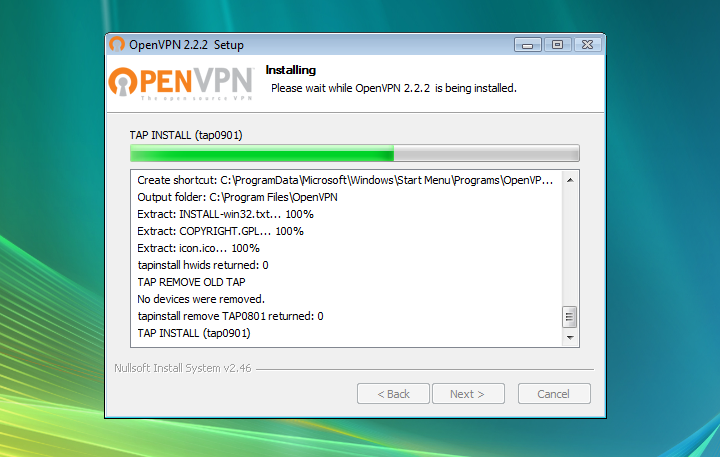
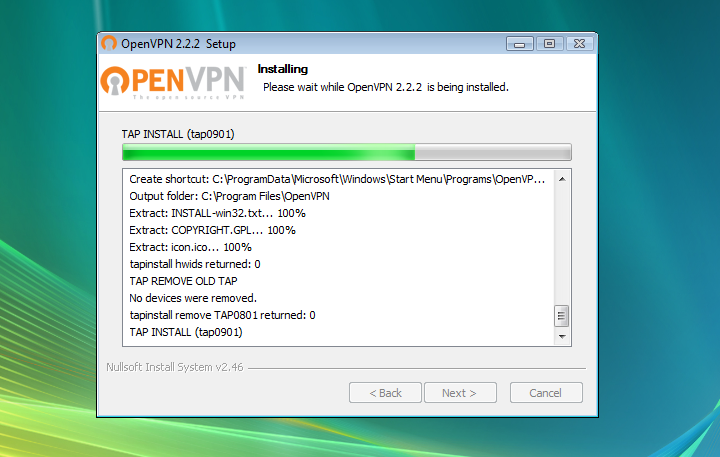
Trwa instalacja aplikacji
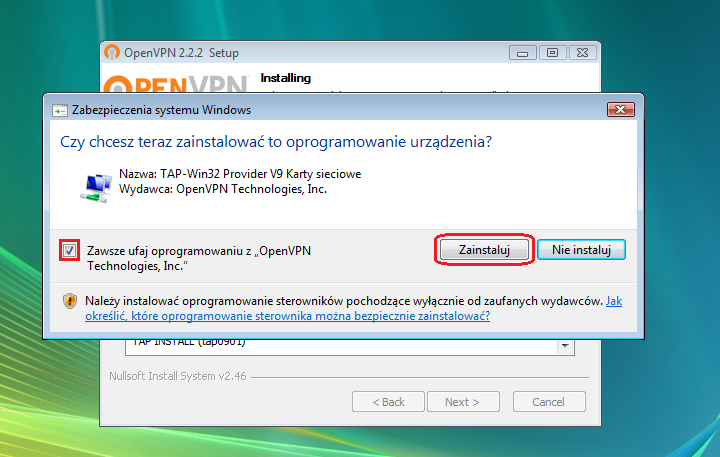
Aby OpenVPN mógł poprawnie działać należy zgodzić się na instalację dodatkowego interfejsu TAP-Win32 Adapter V9
Zaznaczmy opcje "Zawsze ufaj oprogramowaniu z "OpenVPN" i klikamy: "Zainstaluj"
Instalacja interfejsu TAP-Win32 Adapter V9
Odhaczamy "Show Readme" i klikamy "Finish"

Aplikacja znajduje się na naszym "Pupicie", skrót do aplikacji nazywa się OpenVPN GUI

2. KONFIGURACJI APLIKACJI OpenVPN
Aby móc korzystać z aplikacji należy pobrać pliki konfiguracyjne z działu: Downloads
Po pobraniu paczki konfiguracyjnej należy wypakować ją do katalogu C:Program FilesOpenVPNconfig
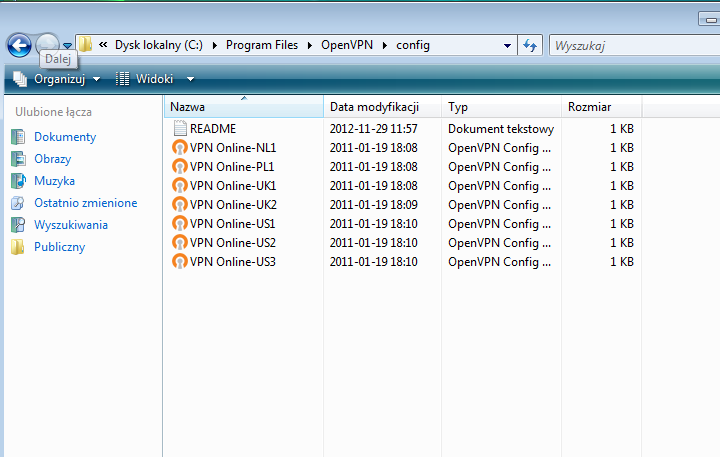
Po wypakowaniu plików zamykamy okno , klikamy na  .
.
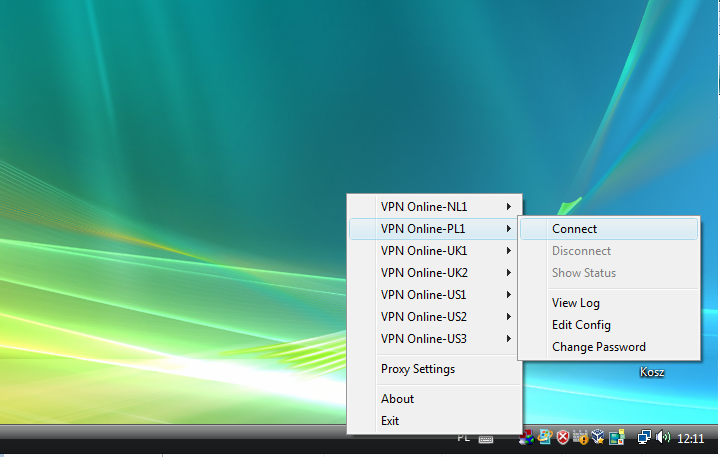
Aplikacja uruchomi się w prawym dolnym rogu przy zegarze 
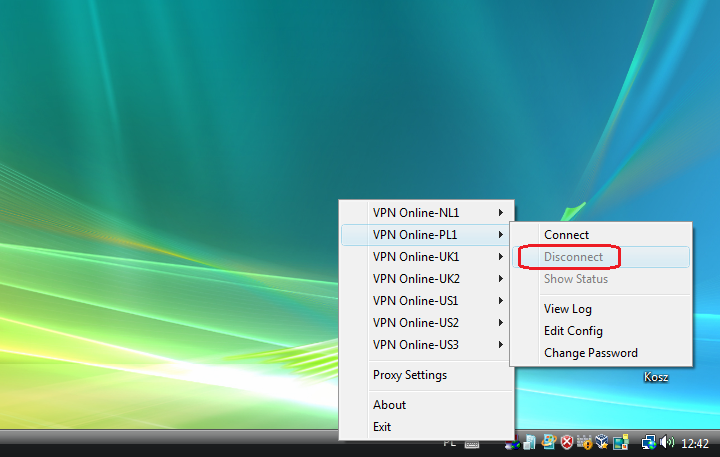
Klikamy na aplikację prawym przyciskiem myszy, wybieramy interesujący nas serwer i zaznaczamy "Connect"
Przy pierwszym uruchomieniu OpenVPN i włączonym Firewallu zazwyczaj wyskakuje komunikat z
pytaniem czy blokować program openvpn ?
Proszę wybrać opcję : "Odblokuj"

Po połączeniu zostaniemy poproszeni o wpisanie loginu i hasła.

Aby się rozłączyć należy kliknąć prawym przyciskiem na ikonkę OpenVPN ( prawy dolny róg przy zegarze ) wybrać serwer do, którego jesteśmy połączeniu i kliknąć : "Disconnect"

Działamy od 2013 roku
IWACOM SP. Z O.O.
Rewolucji 1905 r. nr 4
90-273 Łódź
Polska